Simple Creamy Garlic Chicken Recipe-Weeknight Treat
Creamy Garlic Chicken is a weeknight dinner dream, and I’m so excited to share my favorite way to make it with you. Have you ever craved a dish that’s both incredibly comforting and delightfully elegant, all at once? That’s exactly what this Creamy Garlic Chicken delivers. It’s the kind of meal that brings everyone to the table with happy anticipation, the aroma of sautéed garlic and simmering cream filling your kitchen. What makes this particular Creamy Garlic Chicken so special? It’s the perfect balance of rich, velvety sauce that clings beautifully to tender chicken pieces, infused with a potent punch of garlic that isn’t overpowering but rather a sophisticated flavor enhancer. It’s simple enough for a busy Tuesday but impressive enough for guests. Get ready to fall in love with this classic for good reason!
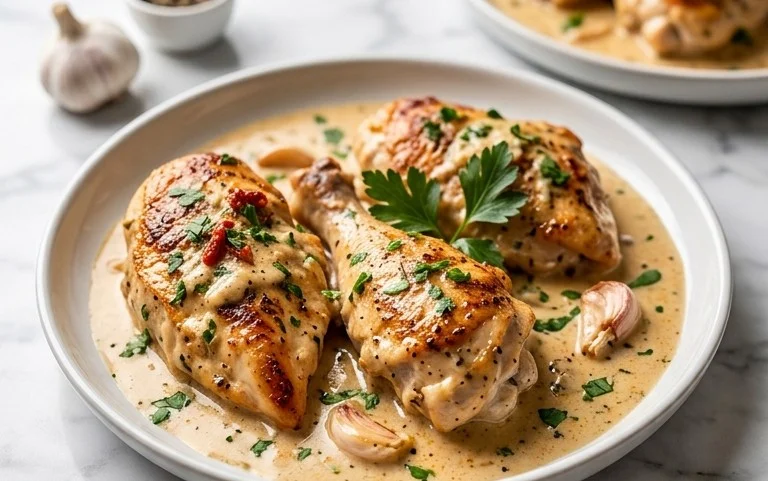
Creamy Garlic Chicken
This Creamy Garlic Chicken recipe is an absolute showstopper, yet surprisingly simple to prepare. Imagine tender, juicy chicken breasts swimming in a rich, velvety sauce bursting with the irresistible aroma of garlic and fragrant Italian herbs. It’s the kind of meal that feels indulgent enough for a special occasion but is perfectly suited for a weeknight treat. The beauty of this dish lies in its harmonious blend of flavors and textures. The chicken is seared to golden perfection, creating a delightful crust that locks in its moisture. Then, it’s bathed in a luscious sauce that’s both comforting and sophisticated. Get ready to impress yourself and anyone lucky enough to share this meal with you!
Ingredients:
- 2 large boneless skinless chicken breasts
- Salt and freshly ground black pepper, to taste
- 3 teaspoons Italian seasonings
- ⅓ cup all-purpose flour (for dredging)
- 4 tablespoons shredded Parmesan cheese
- 3 tablespoons olive oil
- 2 ½ cups chicken broth
- 1 beef bouillon cube (or 1 teaspoon Better Than Bouillon)
- 1 teaspoon low sodium soy sauce (or Worcestershire sauce)
- 1 teaspoon onion powder
- ½ teaspoon dried thyme
- ½ teaspoon mustard powder
- 3 tablespoons unsalted butter
- 10 whole cloves garlic, thinly sliced
- 3 tablespoons all-purpose flour (for sauce thickening)
- ½ cup heavy cream
Preparing the Chicken
The first step to achieving succulent chicken is to properly prepare it. Start by patting your chicken breasts completely dry with paper towels. This is a crucial step as it helps achieve a beautiful golden-brown sear. Once dry, season both sides generously with salt and freshly ground black pepper. In a shallow dish, combine the ⅓ cup of flour with the 3 teaspoons of Italian seasonings. This seasoned flour will create a light, flavorful coating on the chicken, which will help it brown nicely and also contribute to the thickening of our sauce later on. Dredge each chicken breast in the seasoned flour mixture, ensuring it’s evenly coated. Shake off any excess flour. Set the coated chicken breasts aside on a plate while you prepare to cook.
Searing the Chicken to Golden Perfection
Now, let’s get that beautiful sear. Heat the 3 tablespoons of olive oil in a large skillet or frying pan over medium-high heat. You want the oil to be shimmering but not smoking. Carefully place the floured chicken breasts into the hot skillet. Be sure not to overcrowd the pan; if your skillet is too small, cook the chicken in batches to ensure each piece gets properly seared. Cook for about 5-7 minutes per side, or until each chicken breast is a deep golden brown and cooked through. The internal temperature should reach 165°F (74°C). Once cooked, remove the chicken from the skillet and place it on a clean plate. Tent it loosely with foil to keep it warm and allow the juices to redistribute. Don’t wipe out the skillet just yet; all those browned bits are flavor!
Building the Irresistible Garlic Sauce
This is where the magic truly happens. Reduce the heat of the skillet to medium. Add the 3 tablespoons of butter to the same skillet. Once the butter has melted, add the thinly sliced garlic cloves. Sauté the garlic for about 1-2 minutes, stirring constantly, until it’s fragrant and just starting to turn golden. Be careful not to burn the garlic, as it can become bitter. Next, sprinkle the 3 tablespoons of flour over the sautéed garlic and butter. Stir well to combine and cook for another minute, creating a roux. This roux will be the base for our creamy sauce.
Deglazing and Developing Flavor
Now, it’s time to deglaze the pan and incorporate our liquid ingredients. Gradually pour in the 2 ½ cups of chicken broth, whisking continuously to prevent any lumps from forming from the roux. Make sure to scrape up any browned bits from the bottom of the skillet; these are packed with flavor and will contribute to the richness of the sauce. Stir in the beef bouillon cube (or Better Than Bouillon), the low sodium soy sauce (or Worcestershire sauce), the onion powder, dried thyme, and mustard powder. Bring the mixture to a simmer, stirring occasionally, and let it cook for about 5-7 minutes, or until the sauce has thickened slightly. You’ll notice it starting to coat the back of a spoon.
Finishing with Creamy Indulgence
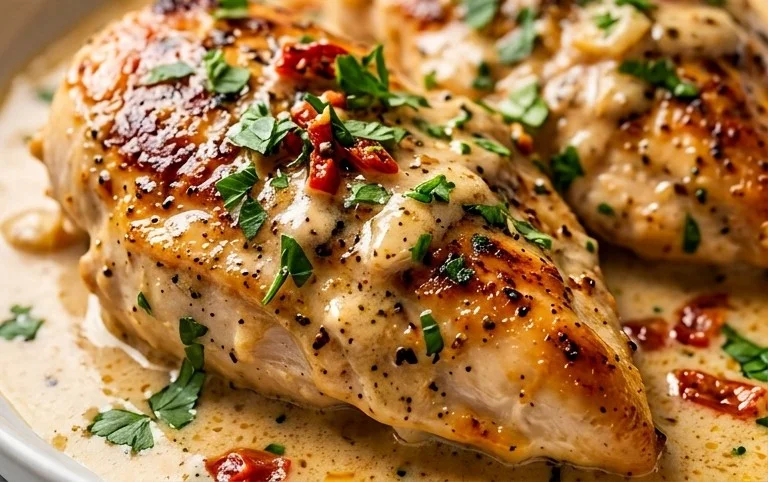
For the final touch, we’ll make this sauce wonderfully creamy. Reduce the heat to low. Slowly pour in the ½ cup of heavy cream, stirring gently until it’s fully incorporated into the sauce. Now, stir in the 4 tablespoons of shredded Parmesan cheese. Continue to stir until the Parmesan cheese has melted and the sauce is smooth and creamy. Taste the sauce and adjust seasonings if needed, adding more salt or pepper to your preference. At this point, you can return the seared chicken breasts to the skillet, nestling them into the sauce. Spoon some of the sauce over the chicken. Let the chicken simmer gently in the sauce for another 2-3 minutes, allowing it to heat through and absorb the delicious flavors. Serve immediately, spooning extra creamy garlic sauce over the chicken. This dish pairs wonderfully with pasta, rice, mashed potatoes, or your favorite steamed vegetables. Enjoy!
Conclusion:
And there you have it – your guide to creating an absolutely delightful Creamy Garlic Chicken! This recipe truly stands out because of its incredible balance of rich, savory flavors and its wonderfully tender chicken. It’s surprisingly straightforward to make, yet delivers restaurant-quality results that will impress anyone you cook for. I find it’s the perfect weeknight meal when I want something comforting and delicious without spending hours in the kitchen.
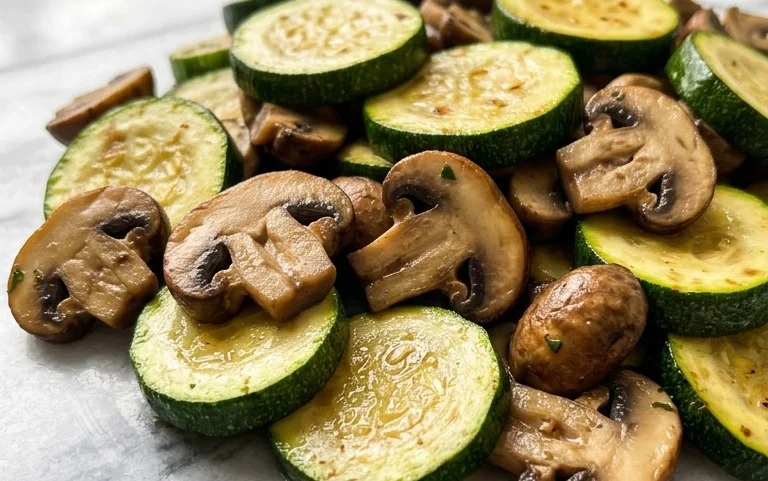
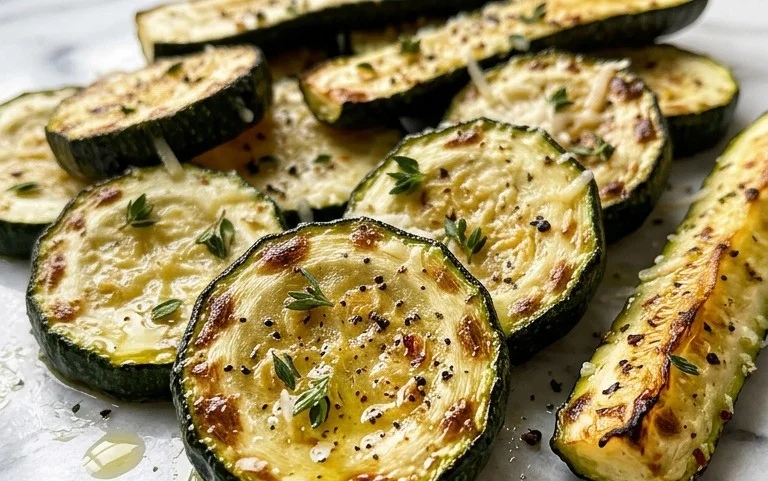
This Creamy Garlic Chicken is incredibly versatile. For a complete meal, I love serving it over fluffy rice to soak up that luxurious sauce, or alongside roasted vegetables like broccoli or asparagus. Pasta is another fantastic option; think fettuccine or linguine! If you’re feeling adventurous, consider adding a splash of white grape juice to the sauce for an extra layer of sophistication, or perhaps a pinch of red pepper flakes for a hint of heat. Don’t hesitate to experiment with fresh herbs like parsley or chives for a burst of freshness. I really encourage you to give this recipe a try; I’m confident it will become a staple in your cooking repertoire!
Frequently Asked Questions:
Can I make this Creamy Garlic Chicken ahead of time?
While it’s best enjoyed fresh, you can prepare the sauce and cook the chicken separately a day in advance. Reheat them gently on the stovetop, adding a little extra broth or cream if the sauce has thickened too much. Combine them just before serving to maintain the best texture.
What kind of chicken is best for this recipe?
Boneless, skinless chicken breasts or thighs work wonderfully. Thighs tend to be a bit more forgiving and can remain incredibly moist, while breasts offer a leaner option. Just ensure you cook them through to a safe internal temperature of 165°F (74°C).
How can I make the sauce thicker or thinner?
To thicken the sauce, simmer it for a few extra minutes, allowing the liquid to reduce. For a thinner sauce, simply whisk in a little more chicken broth or cream until you reach your desired consistency.
Creamy Garlic Chicken
A quick and easy recipe for tender, pan-seared chicken breasts coated in a rich, creamy garlic sauce.
Ingredients
-
2 large boneless skinless chicken breasts
-
Salt and pepper to taste
-
3 teaspoons Italian seasonings
-
⅓ cup all-purpose flour
-
4 tablespoons shredded Parmesan cheese
-
3 tablespoons olive oil
-
2 ½ cups chicken broth
-
1 beef bouillon cube
-
1 teaspoon low sodium soy sauce
-
1 teaspoon onion powder
-
½ teaspoon dried thyme
-
½ teaspoon mustard powder
-
3 tablespoons butter
-
10 whole cloves garlic, minced
-
3 tablespoons all-purpose flour
-
½ cup heavy cream
Instructions
-
Step 1
Pat chicken breasts dry and season generously with salt and pepper. In a shallow dish, combine ⅓ cup flour with Italian seasonings, onion powder, dried thyme, and mustard powder. Dredge chicken breasts in the flour mixture, shaking off excess. -
Step 2
Heat olive oil in a large skillet over medium-high heat. Sear chicken breasts for about 4-5 minutes per side until golden brown and cooked through. Remove chicken from skillet and set aside. -
Step 3
Reduce heat to medium. Add butter to the skillet. Once melted, add minced garlic and cook for about 1 minute until fragrant, being careful not to burn. -
Step 4
Whisk in the remaining 3 tablespoons of flour into the skillet, creating a roux. Cook for 1 minute, stirring constantly. -
Step 5
Gradually whisk in chicken broth, ensuring no lumps form. Add the beef bouillon cube (crumbled) and soy sauce. Bring to a simmer and cook, stirring, for about 5 minutes until the sauce thickens. -
Step 6
Stir in the heavy cream and Parmesan cheese. Continue to simmer for another 2-3 minutes until the sauce is smooth and heated through. -
Step 7
Return the cooked chicken breasts to the skillet, spooning sauce over them. Let simmer for a minute or two to reheat. Serve hot.
Important Information
Nutrition Facts (Per Serving)
It is important to consider this information as approximate and not to use it as definitive health advice.
Allergy Information
Please check ingredients for potential allergens and consult a health professional if in doubt.