Red Velvet Oreo Truffle Brownie Bars Recipe
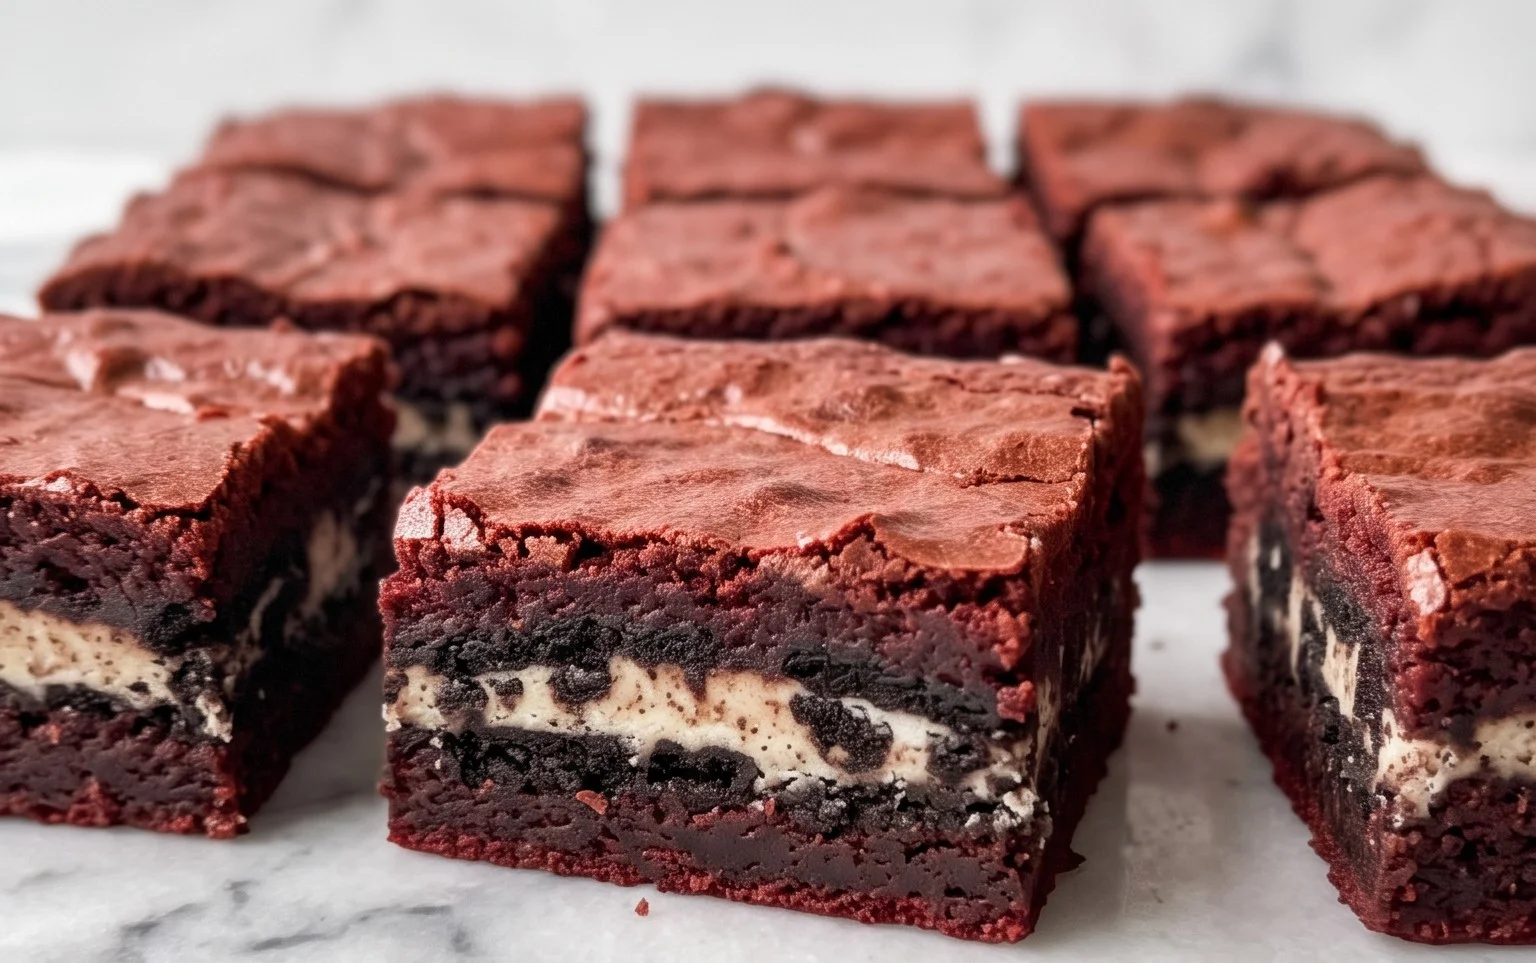
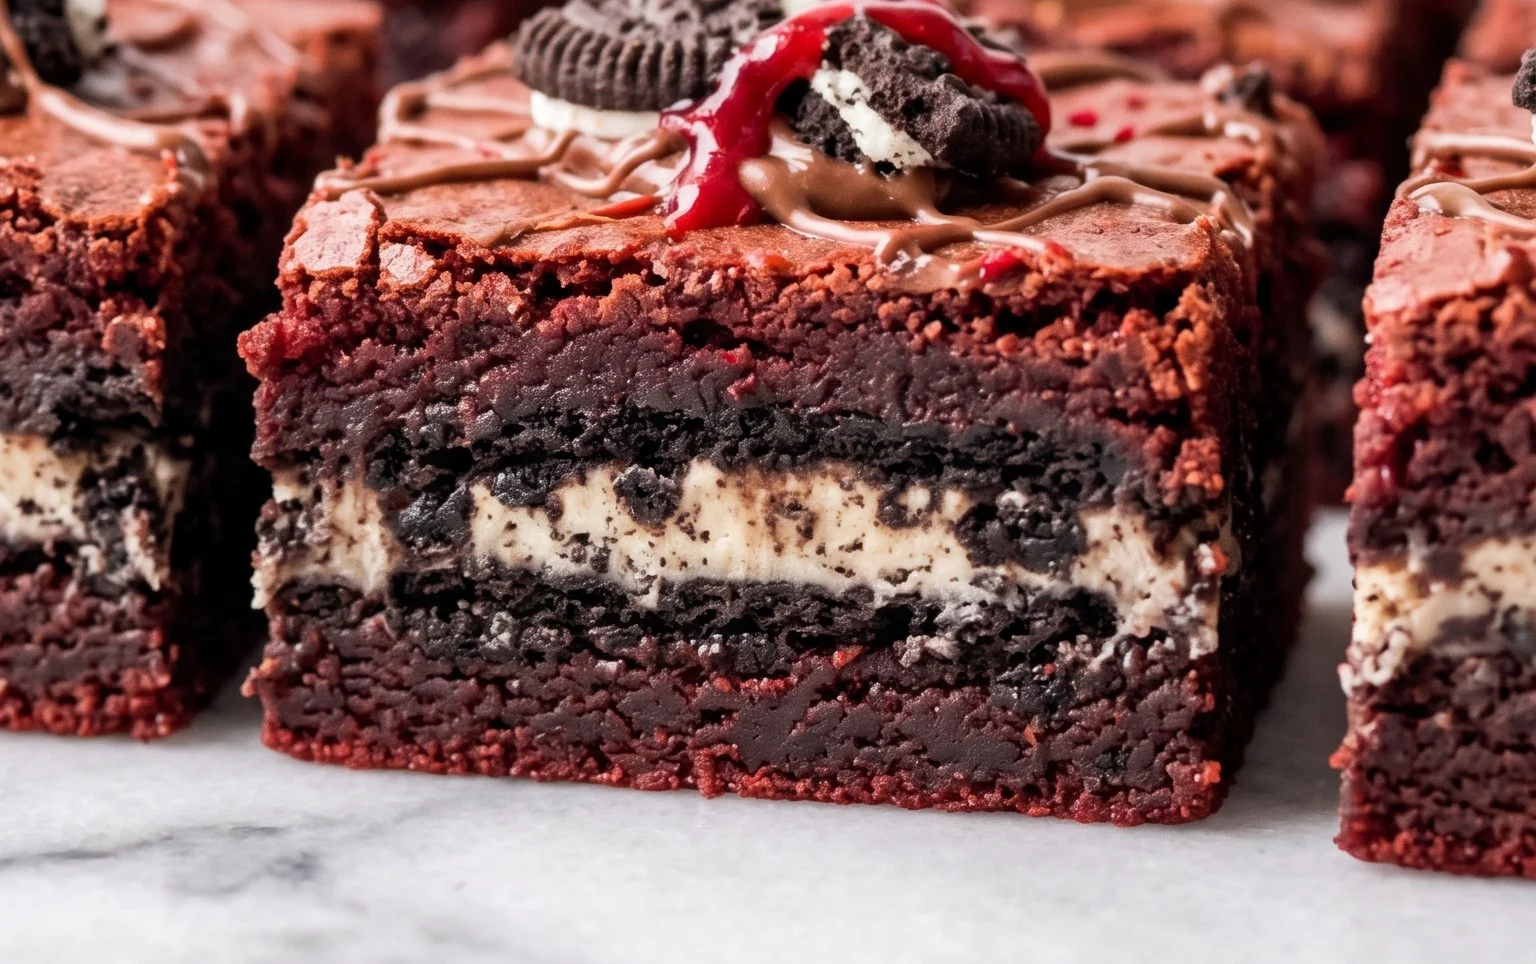
Red Velvet Oreo Truffle Brownie Bars are the ultimate mashup for anyone who can’t decide between fudgy brownies, rich cheesecakes, and crunchy Oreos. These bars pack a serious punch with a moist red velvet brownie base, a creamy white chocolate-pudding-infused batter, and a decadent layer of crushed Oreos mixed into a cream cheese truffle. It’s a dessert that looks as impressive as it tastes, making it perfect for holidays, parties, or just a really good Tuesday. The deep red color from the cake mix and the dark speckles from the Oreos make them visually striking, and the combination of textures—gooey brownie, smooth truffle, and cookie bits—is simply irresistible. You’ll love how the slight tang from the cream cheese cuts through the sweetness, creating a balanced flavor that keeps you coming back for more. This recipe brings together some of the best dessert elements into one perfect bar.
Ingredients:
- 1 Duncan Hines box Red Velvet cake mix
- 1/2 cup butter (melted)
- 2 eggs
- 1 package Jell-O instant white chocolate pudding (3.3 ounces)
- 6 tablespoons vegetable oil
- 1 package Oreos (about 36 cookies), finely crushed
- 8 ounce package cream cheese, softened
- 1/2 package (1/2 lb) chocolate bark (CandiQuick), or about 1-1/2 cups chocolate chips
- Mini chocolate chips for garnish
Instructions:
Making the Red Velvet Brownie Base
First, let’s get our brownie base started. In a large mixing bowl, combine the contents of the Duncan Hines Red Velvet cake mix. To this, add the melted butter, the two eggs, and the vegetable oil. Mix everything together until it’s just combined. Don’t overmix at this stage; a few streaks of dry mix are okay because we’re going to add more ingredients that will finish the job. Next, sprinkle the dry Jell-O instant white chocolate pudding mix over the batter. This pudding mix is the secret to an extra moist and rich brownie texture. Now, fold in about 3/4 of the finely crushed Oreos. Save the rest of the crushed Oreos for later; they’ll be essential for our truffle layer. You want to gently fold them in, distributing them evenly without beating the batter too much. The batter will be thick, and that’s exactly what we want for a dense, fudgy brownie.
Baking the Brownie Base
Preheat your oven to 350 degrees Fahrenheit (175 degrees Celsius). Prepare a 9×13 inch baking pan by greasing it well and lining it with parchment paper, leaving some overhang on the sides. This overhang will make it super easy to lift the bars out of the pan later. Pour the thick brownie batter into the prepared pan and spread it out evenly using a spatula. Try to get it as smooth as possible, but don’t worry if it’s not perfect. Place the pan in the preheated oven and bake for 25-30 minutes. You’re looking for the edges to be set and a toothpick inserted into the center to come out with moist crumbs, not wet batter. Overbaking will make your bars dry, so keep a close eye on them towards the end of the baking time. Once baked, remove the pan from the oven and let it cool completely on a wire rack. This cooling step is important; you don’t want to add the cream cheese mixture to a hot brownie, or it will melt and become greasy.
Creating the Oreo Cream Cheese Layer
While the brownie base is cooling, it’s time to make the decadent Oreo cream cheese layer. In a medium bowl, beat the softened cream cheese until it’s smooth and creamy. Make sure your cream cheese is truly soft; if it’s cold, it will be lumpy and hard to mix. You can use a hand mixer or a stand mixer for this, or even just a sturdy whisk and some elbow grease. Once the cream cheese is smooth, gradually add the remaining crushed Oreos and mix until they are evenly incorporated. This mixture should be thick and rich, studded with delicious Oreo crumbles.
Assembling the Truffle Brownie Bars
Once the Red Velvet brownie base has cooled completely, it’s time for assembly. Carefully spread the Oreo cream cheese mixture evenly over the top of the cooled brownie base. Use an offset spatula or the back of a spoon to get a nice, even layer. This layer adds a creamy, cheesecake-like element that pairs perfectly with the fudgy brownie and the crunchy Oreos within. Don’t skimp on this layer; it’s a key part of what makes these bars so amazing.
Melting the Chocolate and Finishing Touches
Now for the final layer of deliciousness: chocolate! Melt the chocolate bark or chocolate chips. If you’re using chocolate bark like CandiQuick, follow the package directions, which usually involve microwaving in short intervals, stirring between each one, until smooth. If using chocolate chips, melt them carefully in the microwave on 50% power for 30-second intervals, stirring each time, until they are smooth and glossy. Alternatively, you can melt them in a double boiler. Once the chocolate is melted and smooth, pour it over the cream cheese layer. Use your offset spatula to spread it into an even, smooth layer, covering the entire surface. This chocolate coating not only looks beautiful but adds a satisfying snap and rich chocolate flavor. While the chocolate is still wet, sprinkle the mini chocolate chips over the top for a beautiful garnish and a little extra crunch. This is where you can get creative with your decoration! Let the bars sit at room temperature for about 15-20 minutes to allow the chocolate to start setting slightly before moving them to the refrigerator.
Chilling and Cutting the Bars
Place the pan of Red Velvet Oreo Truffle Brownie Bars in the refrigerator for at least 1-2 hours, or until the chocolate has fully set and the cream cheese layer is firm. This chilling step is essential for clean cuts. Once chilled, use the parchment paper overhang to carefully lift the entire slab out of the pan onto a cutting board. For the cleanest cuts, use a large, sharp knife. Wipe the knife clean with a damp cloth between each cut to avoid smearing the chocolate and cream cheese. Cut the slab into bars of your desired size – these are rich, so smaller bars are often perfect. You can store these bars in an airtight container in the refrigerator for up to 5 days. They are a wonderful treat for parties, bake sales, or just a special homemade dessert.
Conclusion:
These Red Velvet Oreo Truffle Brownie Bars are a true showstopper, perfectly combining the intense flavor of red velvet with the satisfying crunch of Oreos and the creamy richness of a truffle. They’re easier to make than you might think, and the result is a dessert that impresses every time. The moist brownie base, enriched with white chocolate pudding, is the perfect foundation for the sweet, tangy cream cheese and Oreo layer. Bake a batch for your next gathering or special occasion – they disappear fast! You can serve them chilled for a firmer texture or at room temperature for ultimate gooeyness. They also freeze well, making them a great make-ahead treat.
Frequently Asked Questions:
Can I make these bars ahead of time?
Absolutely! These bars are fantastic for making a day or two in advance. Store them in an airtight container in the refrigerator. The flavors meld even more, and they’re delicious served chilled.
What kind of Oreos work best?
The recipe calls for regular Oreos, and they provide a great chocolatey crunch. You could also experiment with Golden Oreos or even Red Velvet Oreos for a different twist, though the classic dark cookie is traditional for the truffle layer.
How do I store leftover Red Velvet Oreo Truffle Brownie Bars?
Store any leftovers in a single layer in an airtight container in the refrigerator for up to 5 days. You can also freeze them for longer storage; wrap individual bars tightly in plastic wrap and then place them in a freezer-safe bag or container for up to 2-3 months.
Red Velvet Oreo Truffle Brownie Bars
Decadent brownie bars with a red velvet and Oreo truffle swirl, topped with chocolate and mini chocolate chips.
Ingredients
-
1 Duncan Hines box Red Velvet cake mix
-
1/2 cup butter, melted
-
2 eggs
-
1 package Jell-O instant white chocolate pudding (3.3 ounces)
-
6 tablespoons vegetable oil
-
1 package Oreos, finely crushed
-
8 ounce package cream cheese, softened
-
1/2 package (1/2 lb) chocolate bark (or about 1-1/2 cups chocolate chips)
-
mini chocolate chips for garnish
Instructions
-
Step 1
Preheat oven to 350°F (175°C). Grease and flour a 9×13 inch baking pan. -
Step 2
In a large bowl, combine the Red Velvet cake mix, melted butter, and eggs. Mix until just combined. -
Step 3
In a separate bowl, whisk together the Jell-O instant white chocolate pudding mix, vegetable oil, and softened cream cheese until smooth. -
Step 4
Fold the crushed Oreos into the cream cheese mixture. -
Step 5
Gently swirl the Oreo cream cheese mixture into the Red Velvet batter in the prepared baking pan. -
Step 6
Bake for 25-30 minutes, or until a toothpick inserted into the center comes out with moist crumbs. -
Step 7
Let the bars cool completely in the pan. -
Step 8
Melt the chocolate bark or chips in a microwave-safe bowl in 30-second intervals, stirring until smooth. Pour the melted chocolate over the cooled bars and spread evenly. -
Step 9
Sprinkle with mini chocolate chips for garnish before the chocolate sets. -
Step 10
Cut into bars and serve.
Important Information
Nutrition Facts (Per Serving)
It is important to consider this information as approximate and not to use it as definitive health advice.
Allergy Information
Please check ingredients for potential allergens and consult a health professional if in doubt.