Easy Vampire Fudge Recipe Quick Halloween Treat
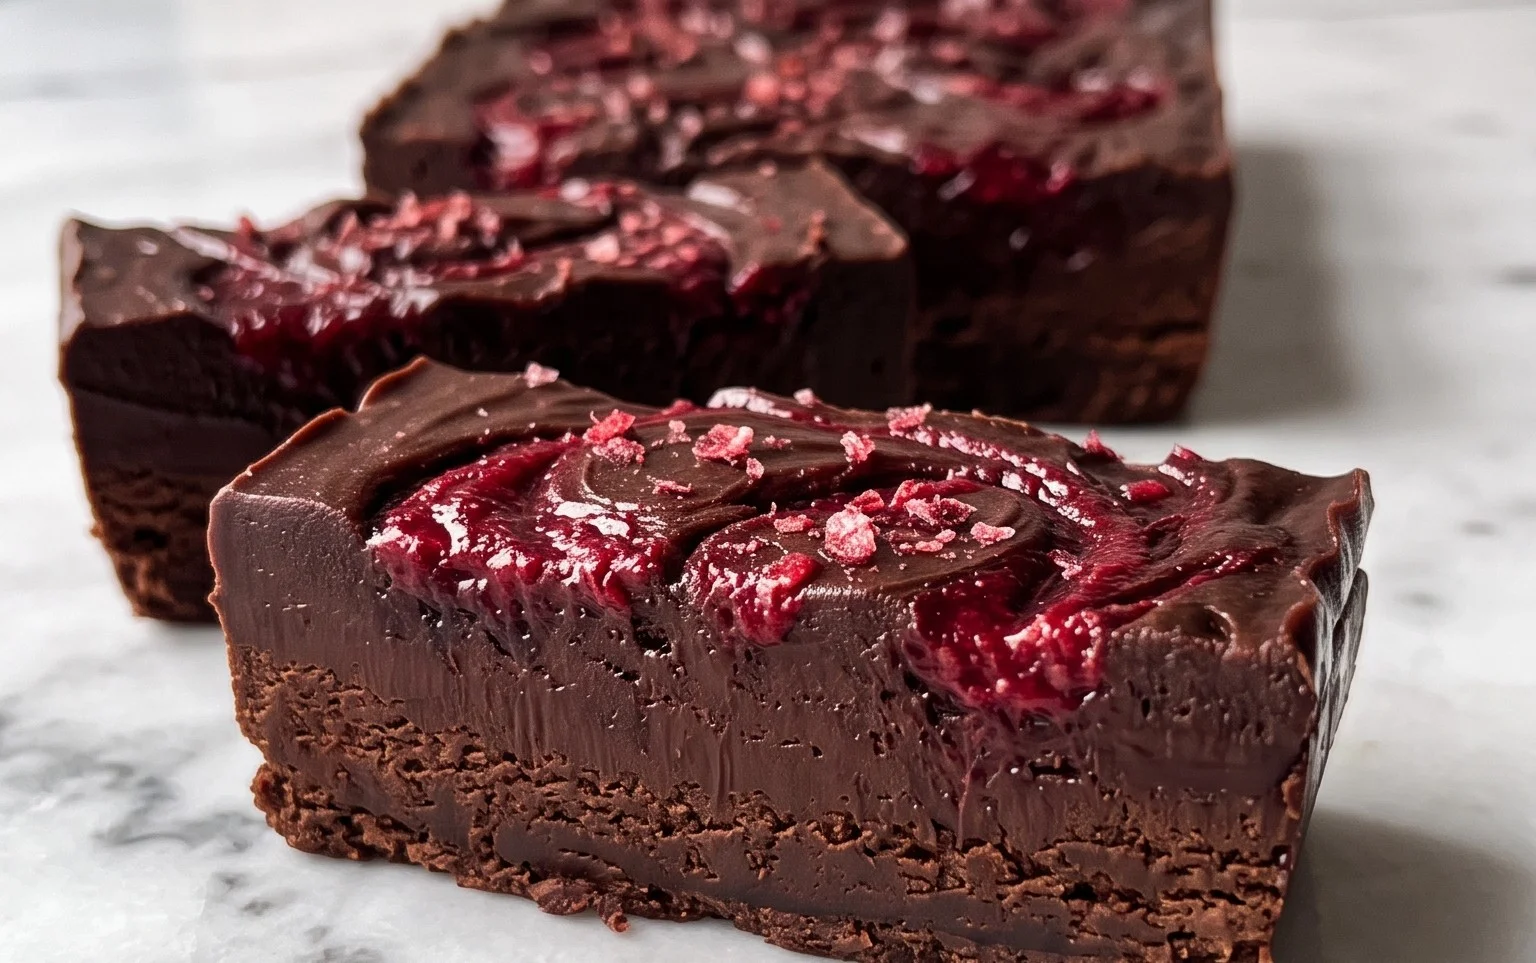
This Vampire Fudge is a fun and easy treat that looks striking and tastes deliciously sweet. It’s made with just a few simple ingredients and has a spooky, layered appearance that’s perfect for Halloween or any time you want a little bit of drama in your dessert. The bright red and deep black create a beautiful contrast, and the creamy base makes it melt-in-your-mouth good. I love making this because it comes together so quickly, and the results are always impressive. It’s a no-bake wonder that everyone seems to enjoy. Making this fudge starts with a simple base, transforming common ingredients into something special. The magic happens when you combine the contrasting colors. It reminds me of my childhood Halloweens, always wanting treats that looked as fun as they tasted. This fudge delivers on both fronts, offering a visual and flavor experience that’s unforgettable and surprisingly simple to achieve at home.
Vampire Fudge Recipe
This Vampire Fudge is a fun and easy treat that looks striking and tastes deliciously sweet. It’s made with just a few simple ingredients and has a spooky, layered appearance that’s perfect for Halloween or any time you want a little bit of drama in your dessert. The bright red and deep black create a beautiful contrast, and the creamy base makes it melt-in-your-mouth good. I love making this because it comes together so quickly, and the results are always impressive. It’s a no-bake wonder that everyone seems to enjoy.
Ingredients:
- 16oz Cream Cheese Frosting
- 1 Cup Black Candy Melts
- 1 Cup Red Candy Melts
Making the Fudge
The process for this Vampire Fudge is straightforward. We’re essentially creating two layers of colored fudge using candy melts and then swirling them together to get that distinct vampire look.
Step 1: Preparing the Black Layer
Start by getting your black layer ready. You’ll need about half of your total candy melts for this, so measure out 1/2 cup of the black candy melts. Place these in a microwave-safe bowl. Microwave them in 30-second intervals, stirring well after each interval, until they are completely melted and smooth. Be patient; candy melts can scorch if you overheat them. Once melted, stir in about half of the cream cheese frosting – that’s roughly 8oz. Stir until everything is thoroughly combined and you have a smooth, dark fudge mixture. It should be pourable but thick. If it seems too stiff, you can microwave it for another 10 seconds, but be careful not to overdo it. Set this bowl aside.
Step 2: Preparing the Red Layer
Now, let’s do the same for the red layer. Measure out your 1 cup of red candy melts and place them in another microwave-safe bowl. Melt them using the same technique as the black candy melts: 30-second intervals, stirring in between, until smooth and glossy. Once melted, stir in the remaining 8oz of cream cheese frosting. Mix until you have a smooth, vibrant red fudge mixture. Just like with the black layer, if it’s too thick, a very short burst in the microwave can help, but watch it closely.
Step 3: Assembling the Base
You’ll need an 8×8 inch baking pan for this. Line it with parchment paper, making sure to leave some overhang on the sides. This overhang will make it much easier to lift the fudge out of the pan once it’s set. Now, pour the black fudge mixture into the prepared pan. Spread it out evenly to cover the bottom of the pan. This will form the base layer of our vampire fudge. Don’t worry about it being perfectly smooth; some texture is fine.
Step 4: Creating the Swirl
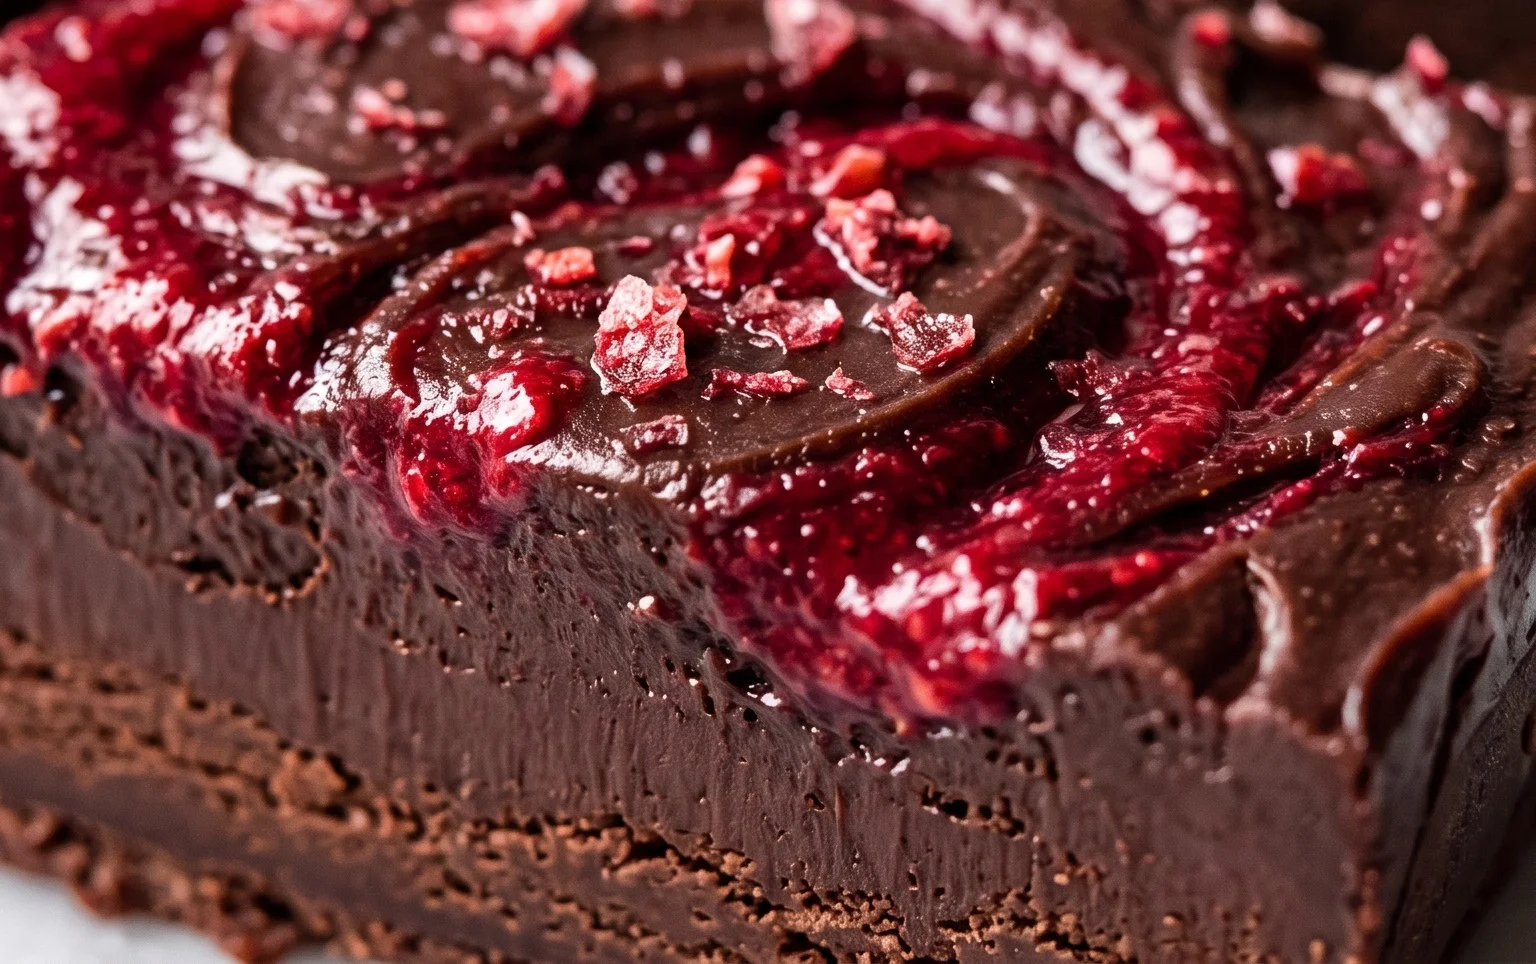
This is where the magic happens. Dollop spoonfuls of the red fudge mixture all over the surface of the black layer. You don’t need to be precise; in fact, irregular placement is better for a more dramatic swirl. Once you have dollops of red spread across the black, take a knife or a skewer and gently swirl the two colors together. Don’t over-swirl, or you’ll end up with a muddy brown color. Just a few passes through the mixture will create beautiful red and black streaks. Think of it like painting – you want distinct lines of color, not a blended mess. Aim for a marbled effect.
Step 5: Chilling and Cutting
Once you’re happy with the swirl pattern, place the pan in the refrigerator. Let it chill for at least 2 to 3 hours, or until it is completely firm. The firmer it is, the cleaner your cuts will be. When it’s fully set, use the parchment paper overhang to lift the entire block of fudge out of the pan. Place it on a cutting board and use a sharp knife to cut it into squares. For cleaner cuts, you can dip your knife in hot water and wipe it dry between each cut. This fudge stores well in an airtight container in the refrigerator for up to a week. Enjoy your spooky, delicious creation!
Conclusion:
So there you have it, a simple yet stunning Vampire Fudge that’s as fun to make as it is to eat. This recipe is perfect for those times when you need a quick, impressive dessert that has that wow factor. Its no-bake nature means you can whip it up with minimal fuss, making it ideal for Halloween parties, spooky get-togethers, or just a fun afternoon baking project with the kids. The combination of creamy frosting and smooth candy melts creates a texture that’s utterly delightful. You can serve it cut into squares or even use cookie cutters for fun shapes. For variations, consider adding a tiny pinch of edible glitter to the black layer for a starry night effect, or a drop of peppermint extract to the red layer for a minty kick. This fudge is a real crowd-pleaser and a fantastic way to add some spooky fun to your dessert table.
Frequently Asked Questions:
Can I make Vampire Fudge ahead of time?
Yes, absolutely. Vampire Fudge can be made up to a week in advance. Store it in an airtight container at room temperature. This makes it a great make-ahead option for parties so you aren’t stressed on the day.
What if my candy melts seize up?
If your candy melts become too thick or seize, try adding a teaspoon of vegetable shortening or coconut oil and stirring vigorously. Sometimes a little extra fat can help smooth them out. Avoid adding water, as this will make them seize further.
Can I use different colors for this fudge?
While the black and red are key for the ‘vampire’ look, you can absolutely experiment with other color combinations. Purple and black, or even green and black, could create other fun monster-themed fudges.
Vampire Fudge Recipe
A spooky and delicious fudge recipe with a vampire theme, perfect for Halloween or any time you crave a sweet treat.
Ingredients
-
16 oz Cream Cheese Frosting
-
1 cup Black Candy Melts
-
1 cup Red Candy Melts
-
1 tablespoon Vegetable Oil
-
1 teaspoon Vanilla Extract
-
Pinch of Salt
Instructions
-
Step 1
Line an 8×8 inch baking pan with parchment paper, leaving an overhang on the sides. -
Step 2
In a microwave-safe bowl, melt the black candy melts according to package directions, stirring in the vegetable oil until smooth. -
Step 3
Spread half of the melted black candy melts evenly into the prepared baking pan. -
Step 4
In a separate microwave-safe bowl, melt the red candy melts according to package directions. Stir in the vanilla extract and salt until smooth. -
Step 5
Pour the red candy melt mixture over the black layer and swirl gently with a toothpick or knife to create a marbled effect. -
Step 6
Top with the cream cheese frosting, spreading it evenly over the swirled candy melts. Drizzle the remaining black candy melts over the frosting and create a spooky design. -
Step 7
Refrigerate for at least 2 hours, or until firm. Cut into squares and serve.
Important Information
Nutrition Facts (Per Serving)
It is important to consider this information as approximate and not to use it as definitive health advice.
Allergy Information
Please check ingredients for potential allergens and consult a health professional if in doubt.